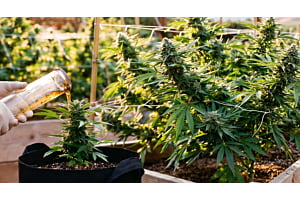
Whether you’re growing cannabis for personal use or run a commercial operation with tens of grow tents, one thing remains true; the happier the plant, the better the yield. Together with meeting the lighting, housing, and water requirements of a plant, quality cannabis nutrients are key to sustained growth.
Veteran cultivators may have already developed a “sixth sense” when it comes to the well-being of their plants. They’ve used the same brand of soil for x amount of years, only use purified spring water, and have zeroed in on the perfect phenotype for their growing conditions.
These growers can seemingly anticipate their plants’ every need before the rest of us can spot a hint of change in the leaves. They also understand the importance of an established feeding schedule for cannabis.
Where does this leave the rest of us, who seem to lack these super-grower powers?
A good place to start is to look at the fundamentals of cannabis nutrients compared to plant requirements at various stages of growth. After that, implement a cannabis feeding schedule to get the most from your next grow.
Understanding the nutrient requirements of cannabis
The concept of cannabis nutrition isn’t very far removed from the requirements of any carbon-based organism. Alongside oxygen and water, plants need three main nutrients to survive. These are referred to as macronutrients, forming the building blocks of all plants, and are essential for propagation.
Next, there are secondary cannabis nutrients that, though important, are needed in much smaller quantities, referred to as micronutrients.
Let’s take a look at each nutrient group and the roles they play in overall plant health.
Bear in mind that while plants’ nutrient requirements may remain constant, your cannabis feeding schedule for soil differs from a hydroponic setup with different dilution and absorption rates.

Macronutrients
Nitrogen (N), phosphorous (P), and potassium (K) are the three primary nutrients needed for any cannabis plant to survive. Colloquially these are referred to as the NPK ratios.
While it would be great just to lug a few ounces of each into our pots and call it a day, plants need varying levels of each during the stages of growth:
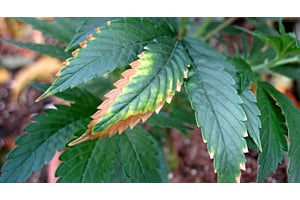
- Nitrogen is considered the most important nutrient in plant growth. As part of the chlorophyll molecule, it’s essential to the plant’s photosynthesis process.
It’s also partly responsible for plants’ green coloration (yellowed leaves often indicate a nitrogen deficiency).
- Phosphorous transfers energy through the plant cells; it helps with sugar and starch conversion and transfers genetic data from one generation to the next.
- Potassium transports water, nutrients, and all-important carbs throughout the plant tissue. It’s also an essential part of plants’ water vapor, oxygen, and carbon dioxide exchange.
Plants in veg need the most nitrogen but less phosphorous and potassium. Conversely, cannabis plants in flower need higher quantities of potassium and phosphorous with greatly reduced nitrogen during this period.
Micronutrients
Boron, calcium, copper, iron, magnesium, manganese, molybdenum, sulfur, and zinc all comprise the list of nutrients that cannabis plants need to thrive. While cannabis plants require them in smaller quantities than the big three, they all play an important role in general plant health.
Think of these as you would of vitamin C—you only need a tiny amount of it daily to avoid scurvy, and we all want to avoid scurvy! The same holds for your cannabis plants’ nutrition; you want to keep them as happy as possible for them to reward you with the best buds come harvest time.
The difference between organic and chemical fertilizers
There tends to be two very separate schools of thought when it comes to cannabis nutrients.
Some growers prefer to use chemical fertilizers for the precision dosing and ease of use it facilitates. In contrast, others prefer only to use organic compounds to meet their plant’s nutrient requirements.
Here’s a quick look at the differences between the two options so you can decide which cannabis nutrients will work best for you:
Organic Fertilizers
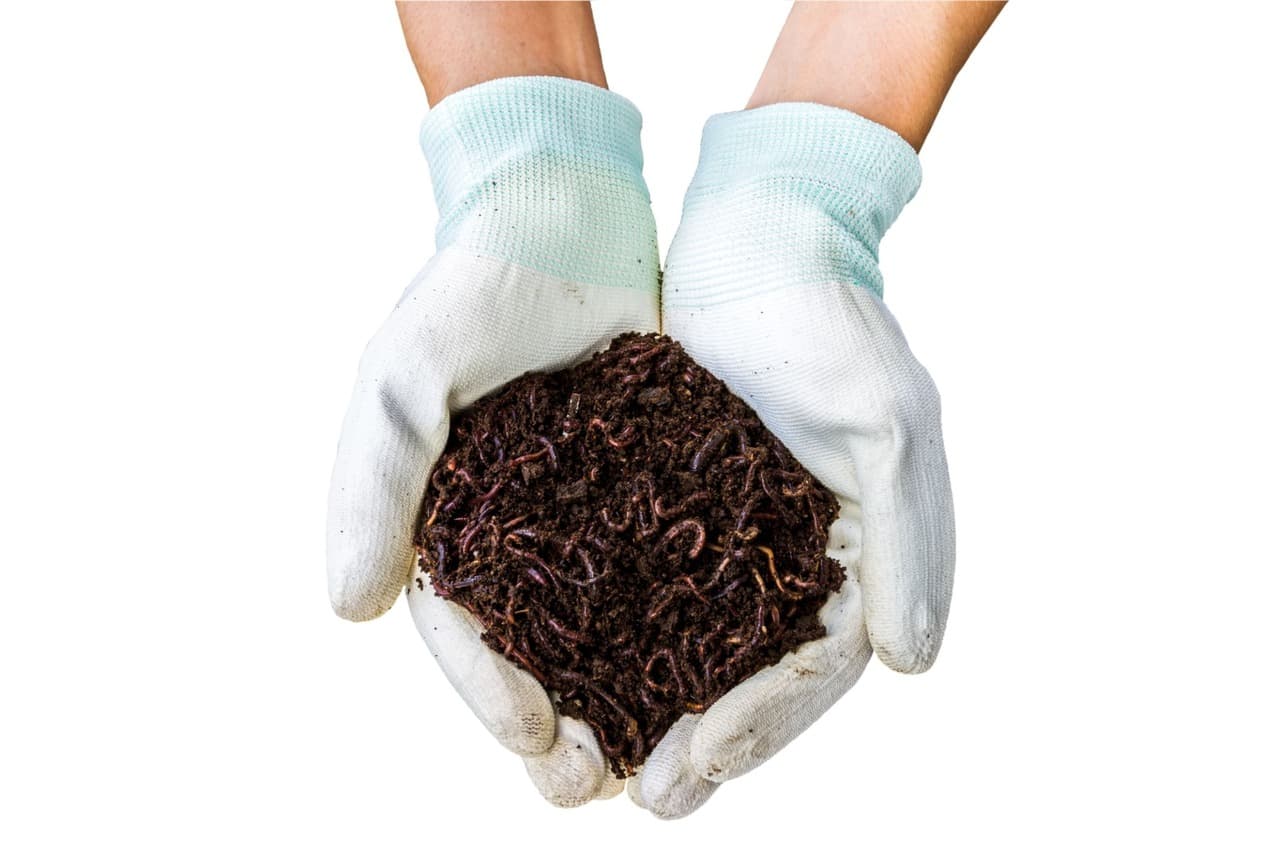
Organic fertilizers or “old school ferts” are wholly natural products derived from natural organic processes. Microorganisms present metabolize and break down specific substances in the soil, producing the beneficial compounds that the plants seek.
Worm castings, blood meal, bone meal, and manure are examples of organic ferts containing macro and micronutrients.
Chemical Fertilizers
By definition, chemical fertilizers are characterized by the fact that they’re either partially or, in some cases, entirely synthetic in origin. Since they are artificially prepared compounds, they may contain some unwanted acids or by-products. These could be harmful to the beneficial bacteria and microorganisms present in your soil.
Examples of chemical fertilizers include ammonium chloride, ammonium phosphate, and ammonium sulfate.

Cannabis nutrient requirements in different growth stages
We’ve touched on the topic of how marijuana feeding schedules need to be adjusted throughout their lifecycle.
Using humans as an analogy once more, while unborn babies get all their nutrients straight from mommy, growing children need huge amounts of calories per day. Adults, on the other hand, need mere fractions of a child’s daily calorie intake.
Similarly, seedlings need very little aside from water and warmth to begin growing but, plants in full veg blast through nitrogen. Before setting up a cannabis nutrient schedule, take a look at some of the requirements.
Germination
Before germinating, a plant has all the nutrients it needs stored right inside the seed. Your primary concern should be to provide it with a safe, warm and humid environment at this stage.
Depending on your preferred germination method, you may prefer to transfer the seedling to the soil once the taproot appears. If you’ve planted directly into pots, it’s a waiting game.
Seedling
With regular watering, you won’t need to feed your plants until they’re between three and four weeks old and display a couple of those trademark leaves. Covered seedling trays will help keep them safe and cozy.
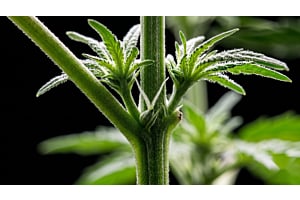
Vegetative
Enter the bodybuilding phase of your plant’s lifecycle. Around the four-week mark, your plants start using markedly more nitrogen as they begin to gain biomass.
You’ll see new branches appearing at a fast pace and may want to consider pruning and training methods to maximize yield around this time.
For now, you’ll want to provide a 2:1:2 fertilizer for the first week of veg. This is a safe way to get your plant used to nutrients without running the risk of causing nutrient burn.
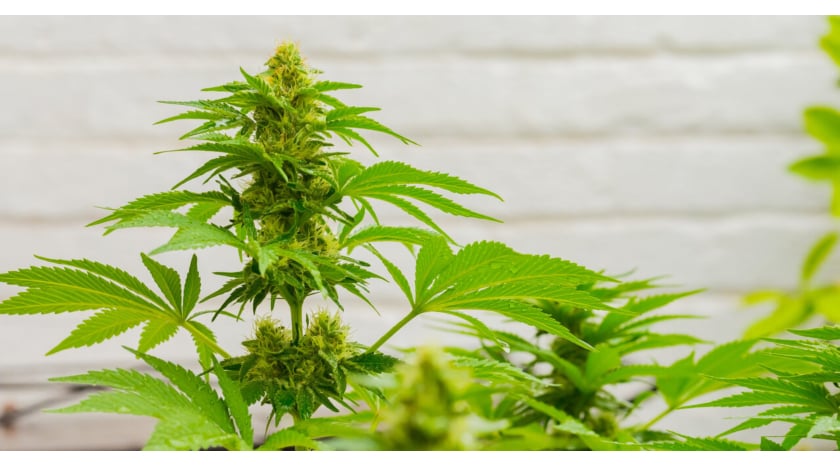
Flowering
Flowering marks a flip in the macronutrient requirements where you’ll need to start flushing the nitrogen out of the plant (left unflushed, it would lead to a “grassy” aftertaste).
Potassium is the big player during this phase, boosting flower production to the maximum.
5:7:10 is a good NPK ratio to start this period off with but, you’ll be adjusting these numbers considerably to get the very best your plants have to offer.
How to mix nutrients into water
The importance of providing appropriate cannabis nutrients cannot be overstated. An error or an overdose of nutrients may prove fatal to your plants. For this reason, try to avoid tackling this responsibility if you’re vibing off of your product.
- Prepare your water and allow it to reach room temperature or, if needed, heat it to around 71°F to promote easy absorption by the plants’ root system.
- Add your nutrients according to the dosage schedule and measurements provided by the manufacturer. Make sure you add them in the correct order—failing to do this may cause some nutrients to precipitate, leaving the plant unable to absorb them.
- Mix thoroughly, do PPM and pH tests. It’s important to take measurements before feeding.
- Water your plants and PPM test the runoff to gauge the plants’ absorption rates.
Adding nutrients in the correct order
While your preferred brand may already have these compounds pre-mixed to some degree, here’s the optimal order and method for adding your nutrients to prepared water:
- Silica: If required, add your silica to the water at least 10 minutes before adding any other nutrients to the mix. A 10 – 30 minute wait allows it to fully bond to the water before additional compounds halt the process.
- Phosphate: Next up, check whether part A or part B has the phosphate-containing nutrients and add the required dose to the water.
- Cal-Mag: Now that your base nutrients are mixed in well, add the required cal-mag, if required.
- Additional additives: Lastly, add your supplements and other micronutrients as required.
Marijuana feeding schedule
Now that we’ve covered the nuances of providing good nutrition look at some of the baseline ratios for each stage of your plant’s growth cycle.
Feeding during the germination and seedling stage
During these early stages of your plants’ journey, you needn’t worry about nutrients. You may take this time to dial in your lighting, or you may want to begin setting up your marijuana feeding schedule for the weeks to come.
Week 1–2: early vegetative stage
Once your seedling has three or four proper leaves, you may introduce NPK at a ratio of 2:1:2, easing the plant into your specific brand of nutrients and helping them avoid nutrient burn.
You’ll want to increase your plants’ nitrogen by providing a ratio of 4:2:3 as your plant begins to grow new branches and fan leaves.
Week 2–5: mid vegetative stage
During this time of prolific growth, you’ll want to increase the amount of nitrogen to a ratio of 10:5:7; this will further increase branch production and potential bud sites.
Week 5–6: late vegetative stage
Closer to the end of this period, you’ll want to taper off the nitrogen as your plants prepare to begin flowering. Many growers opt for an even NPK ratio of 7:7:7 for the last week of veg.
Week 6–7: early flowering stage
The first two weeks of flowering will have you gradually begin increasing potassium and phosphorus while dialing back the nitrogen a bit. Most growers start this period on an NPK ratio of 5:7:10.
Week 7–8: mid flowering stage
6:10:15 Are the numbers you’re looking to hit by the mid flowering stage. This ratio promotes awesome bud size and resin production. Most growers begin to crank all the nutrients way up during this stage to maximize the last bit of bud growth.
Week 9–12: late flowering stage
During these last few weeks, it’s considered good practice before harvest to begin dialing back on all nutrients to flush the plant without causing it any unnecessary stress. An NPK of 4:7:10 during this period helps make the transition smoother.
Week 12: pre-harvest
Congratulations on making it to the end of your cannabis feeding schedule. On the last week before harvest, you want to cease all nutrients and provide only fresh water, making sure to drench the plant with each watering completely.
Flushing removes any remaining nutes from the soil as the plant finishes consuming those already absorbed in the roots.
Flushing is a crucial component of producing excellent quality weed and should never be overlooked or rushed.
Preventing a nutrient deficiency
If you’re using a recognized brand of cannabis nutrients, you shouldn’t have to worry about a potential deficiency rearing its head. Most manufacturers take great care in providing nutrient schedules for cannabis. An important part of plant care includes keeping a cannabis grow schedule and calendar.
These allow you to quickly identify a dip in the growth cycle and allow you to spot and track potential ailments like discolored or deformed leaves.
Stopping nutrient toxicity
If you’re following the manufacturer’s guidelines to the letter on top of exercising a strict weed feeding schedule, you’ll seldom have to worry about nutrient toxicity.
With that said, we’re all human, and accidents do happen. From insufficient water volume to a simple slip of the hand, it’s entirely possible to overdose a plant on nutrients.
Overdosing on nutrients is one of those mistakes that all new growers need to make at least once.
What do you do if you suspect that your plant may have fallen victim to such oversight? What are the real dangers of not sticking to a marijuana nutrient schedule? Let’s find out.
How to spot nutrient toxicity
Being able to spot a plant in distress quickly is the mark of a veteran green thumb and a practice we can all seek to master. Some signs to look out for if you suspect nutrient toxicity include:
- Abnormally dark leaves with a shiny, almost waxy sheen
- Leaves curling upward
- Stems that are “bendy” or generally weak in appearance
- If left unchecked, leaves will begin to yellow and may present brown spots or a “burnt” appearance
How to treat nutrient toxicity
Fortunately, nutrient toxicity is a relatively easy fix: FLUSH, FLUSH, and FLUSH. You’ll want to ignore your regular cannabis watering schedule and make sure that you use pure water to completely remove any excess nutrients still present in your soil or grow medium.
Do this for at least five days or until you can see your plant’s health returning to normal. Be sure to use pH-neutral water at room temperature for the best results.
Once you see your plant has recovered, you may proceed with your regular cannabis feeding schedule.