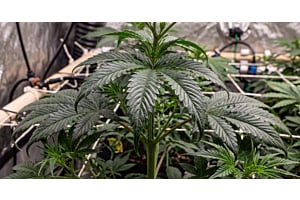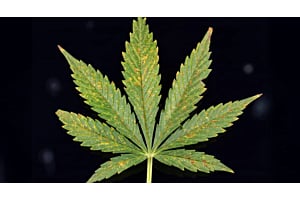
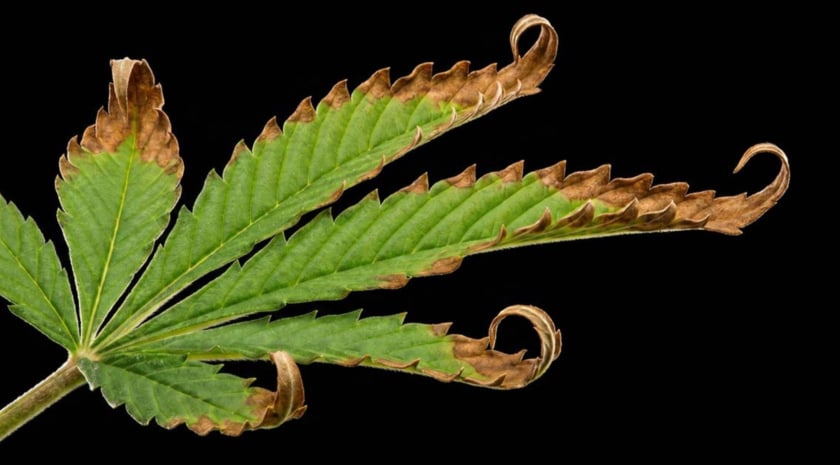
Nutrient burn turns healthy cannabis leaves brown and crispy, usually starting on the tips. It happens when your plant takes in more fertilizer salt than its roots can handle. Cannabis nutrient burn is one of the most common problems growers run into indoors and outdoors alike. The good news is that it rarely kills a plant on its own, and most cases respond well to a proper flush.
This comprehensive guide covers:
- Nutrient burn signs, symptoms and causes.
- Differences between nutrient burn vs deficiencies vs light burn
- Precise steps to fix nute burn in soil, hydro and other mediums.
- What to do during flowering with a recovery timeline.
- Effective prevention methods for happy, healthy weed plants.
What is Nutrient Burn on Cannabis Plants?
Nutrient burn is the result of excess fertilizer salts building up faster than your weed plant can use them. Growers also call it nute burn or fertilizer burn, and it shows up in soil, coco and hydro setups alike.
The roots pull in more nitrogen, phosphorus, potassium and other nutrients than the plant actually needs, and the surplus disrupts normal water uptake. That's when brown or bronze burn marks start appearing on your leaf tips and edges.
Burn tends to concentrate in the top canopy rather than the lower leaves, since the most actively growing tissue pulls in the most water and feed. (This catches people out because shortages work the other way round — nutrient mobility explains where deficiency symptoms appear.) With nutrient burn, the problem is where an oversupply is being taken up fastest.
Once nutrient levels drop back to normal, healthy new leaves grow in behind the damage.
What Does Nutrient Burn Look Like? (Signs and Symptoms)
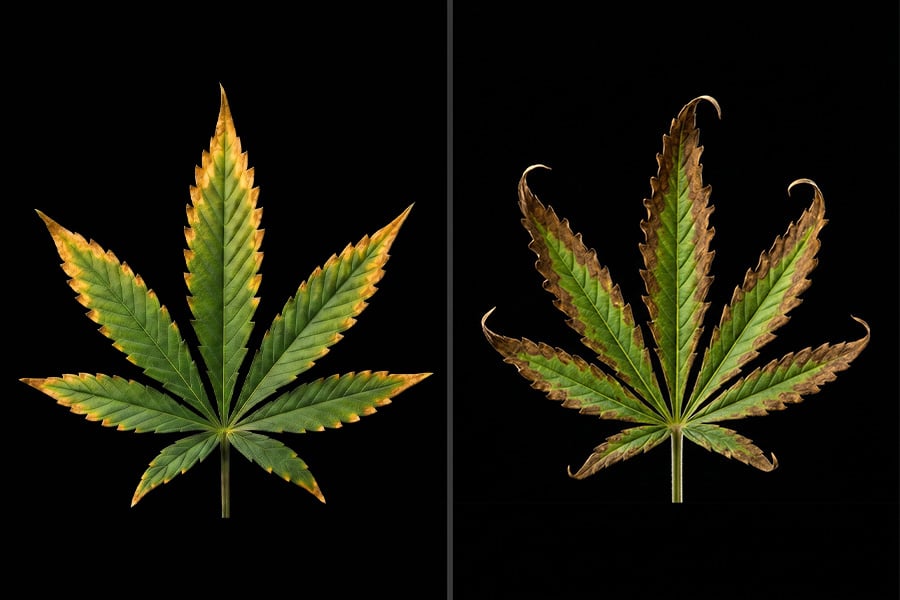
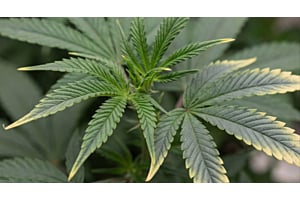
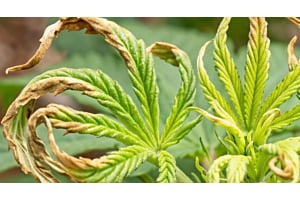
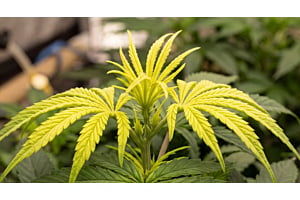
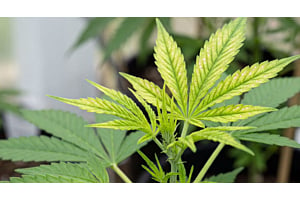
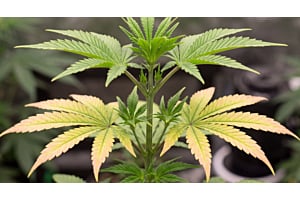
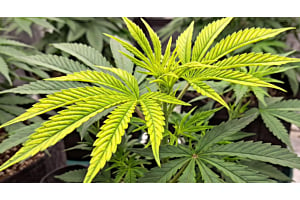
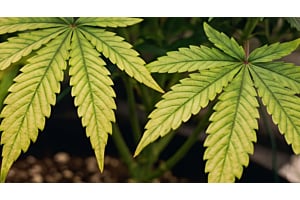
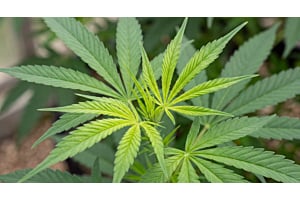
Cannabis nutrient burn on leaves.
Nutrient burn shows up first as brown, tan, gold or bronze tips on a cannabis plant's newest, fastest-growing leaves. It spreads inward toward the leaf body if you don't correct it. Mild cases stay limited to the very tips. Left unchecked, the yellow tips turn rusty brown and crispy, and the burn can travel from the tip across the whole leaf.
You'll often see the tips dry out and curl as burn develops. In more advanced cases, the whole leaf can twist and distort as the damage spreads. Leaves affected by nutrient burn also tend to look darker green than normal right before the burn sets in.
Excess nitrogen pushes extra chlorophyll production, which explains the darker color. Some growers notice bronze or brown spotting along the leaf serrations too, especially when potassium uptake gets disrupted alongside the burn.
Nitrogen, Phosphorus and Sulfur Burn Symptoms
Too much nitrogen produces lush, dark green growth that actually weakens a marijuana plant instead of helping it. That extra growth makes your plant more attractive to pests and disease. The stalks also turn brittle and snap more easily from the lack of flexibility, and the leaf tips often bend downward into a claw shape. This is your early nitrogen toxicity signal.
Too much phosphorus is harder to catch by eye. It rarely shows up as a distinct leaf symptom the way nitrogen and sulfur do. Instead, watch for a chemical or metallic taste in your finished flower, or outright plant burn if levels get high enough.
Excess sulfur is rarer, but it stunts overall plant and leaf size, with brown, dead-looking tips that resemble salt damage more than typical nutrient burn.
What Causes Nutrient Burn?
Nutrient burn is caused by overfeeding, where a plant gets more fertilizer than its roots can actually absorb. A weed plant needs a certain amount of water and a certain amount of fertilizer salt, and it has to pull both up through the same roots. Feed too heavy for too long, and the salt concentration in the soil or reservoir gets so high that your roots start fighting the water instead of drinking it easily. That fight is what shows up on your leaves as nute burn.
The EC and TDS Science
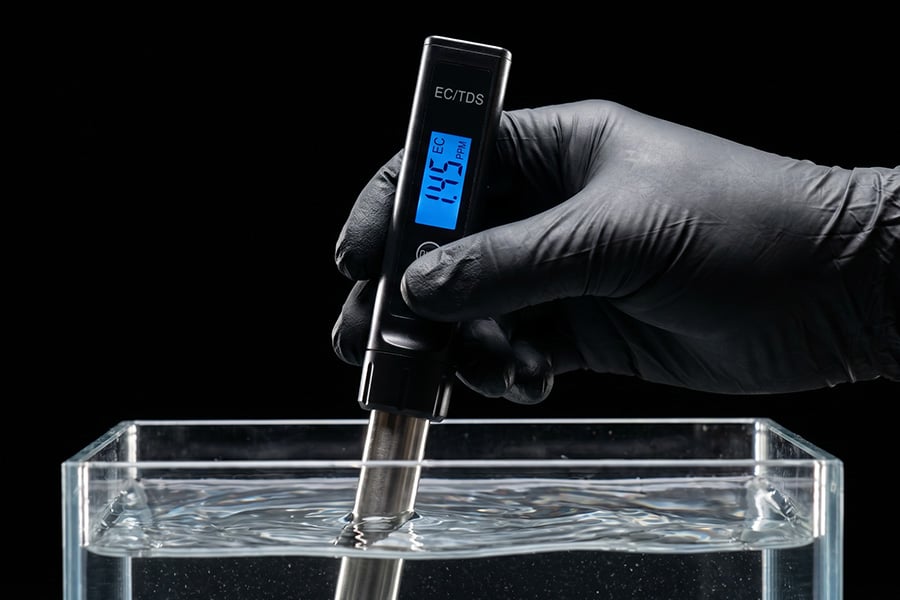
Grower checking EC/TDS meter reading.
Nutrient burn happens when the EC in your root zone climbs faster than your roots can process it. EC and TDS meters measure total salt concentration in your nutrient solution, not any single nutrient level on its own.
Once EC climbs above roughly 2.5 mS/cm (or TDS above roughly 1,250 to 1,750 ppm depending on your meter's scale), your roots start struggling. They have to work harder to pull water out of an increasingly salty solution.
If your reservoir or substrate keeps reading higher EC over time relative to what you're feeding, you're overfertilizing. Starting with a water source that already reads above 1 mS/cm compounds the risk, since any fertilizer you add stacks on top of that baseline.
Fresh compost, manure or a heavily nutrient-amended soil mix can also run "hot" enough to burn young seedlings before you've added any fertilizer at all.
Nutrient Burn vs. Light Burn vs. Nutrient Deficiency: How to Tell the Difference
Nutrient burn, light burn and nutrient deficiencies can all produce brown or yellow leaves. The cause and the pattern differ enough to tell them apart once you know what to check.
| Condition | Where It Shows | Color | Speed |
| Nutrient burn | Newest top growth, where feeding concentrates | Brown or bronze, crispy | Develops gradually over a week or so |
| Light burn | Upper leaves closest to the light | Yellow, pale and bleached | Shows up fast, often within 1-2 days |
| Nutrient deficiency | Often uniform across a leaf, matched to nutrient mobility. | Yellow, mottled or between the veins | Varies, typically 1-2 weeks depending on the feeding gap |
Potassium deficiency looks a lot like nutrient burn since it can also brown leaf tips and edges, but it shows up in older, lower growth first. That's especially true once your cannabis plant hits flowering and potassium demand goes up. Look for mottled red and yellow patches between the veins too — a classic sign of a potassium shortage.
Nitrogen deficiency causes the opposite problem: yellowing that starts on your lower leaves instead of brown burn. Nitrogen deficiency and nutrient burn sit at opposite ends of the same nutrient, so ruling one out usually points you straight at the other.
Calcium deficiency shows up as brown spotting on new growth, which growers sometimes mistake for nute burn. The cause is a lack of calcium, though, not an excess of anything. Calcium deficiency tends to hit new leaves first, rather than the older leaves nutrient burn usually targets.
Magnesium deficiency causes yellowing between the leaf veins while the veins themselves stay green, a pattern nutrient burn doesn't produce. Magnesium deficiency is one of the most common look-alikes growers flag when they're unsure whether they're overfeeding or underfeeding.
How to Fix Nutrient Burn (Step-by-Step Flushing Guide)
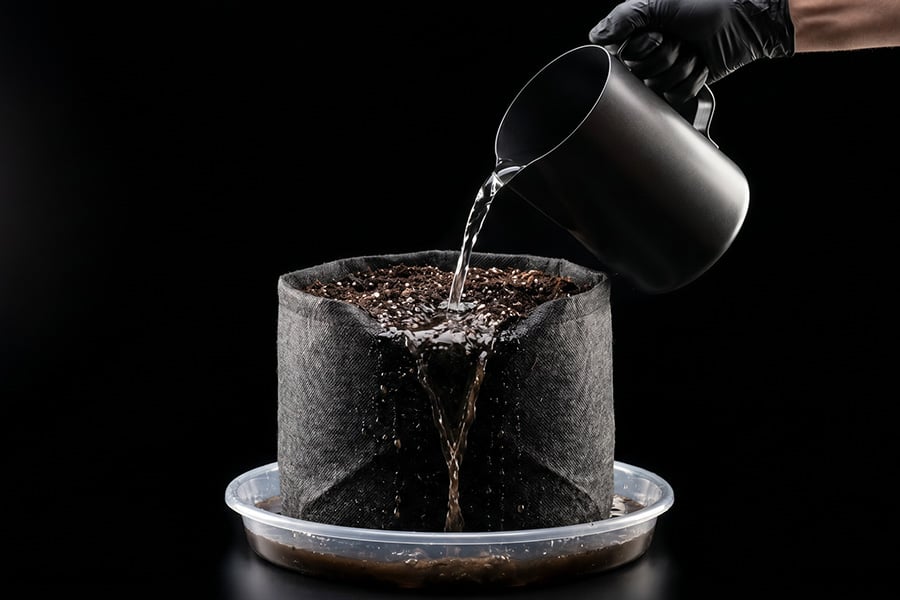
Flushing a cannabis soil pot with water.
You can reverse early-stage nutrient burn by flushing your growing medium with plain, pH-balanced water. Follow these steps in order to bring EC back down to a safe range
- Check your EC or TDS reading first. If your root zone or reservoir is reading above roughly 2.5 mS/cm (or 1,250 to 1,750 ppm depending on your meter's scale), you're in burn territory and a flush is worth doing. If the reading is normal, the damage is probably a deficiency or light burn instead, so check those before you flush.
- Flush with plain water adjusted to a pH of 5.8 to 6.0.
- If you're using soil, run water through the pot until roughly 30% of what you pour in drains out the bottom, carrying excess salts away from your roots.
- If you're using rockwool, flush fast. Since rockwool doesn't hold onto salts the way soil does, a short flush clears excess nutrients quickly.
- If you’re using a hydro setup, reset the reservoir alongside the flush. Dump the reservoir and mix a fresh batch of nutrients at a lower strength, or dilute the current solution with plain water. Make the change gradually. Adjust reservoir strength in small steps rather than all at once.
- Once the flush or reset is done, drop your feed strength to a quarter or half of normal on the next round. Let the plant's response guide how fast you build back up.
- Work your way back up over the following week. Increase feed strength gradually instead of jumping straight back to full strength, since sudden swings stress the roots more than the burn itself.
- Watch for any recurring signs of burn as you increase strength. Slow back down if new tips start showing the same brown or bronze coloring.
How to Prevent Nutrient Burn
Prevention matters more than treatment, since tips that are already burned won't heal even after you fix the cause. A few habits keep EC in a safe range from the start.
| Stage | Feed Strength | Main Risk |
| Seedling | Very light, especially in fresh soil | "Hot" soil mix, small root system |
| Vegetative | Standard, increase gradually | Overcorrecting after a deficiency |
| Flowering | Lower than veg, monitor closely | No leaf replacement, harvest-taste risk |
- Start every new feeding at half strength or less, and only increase it if your cannabis plant shows real signs of a deficiency.
- Check your pH and EC regularly (daily for hydro, weekly for soil or coco), instead of guessing. Test a few different plants around your grow rather than the same pot every time.
- Match your nutrient schedule to your plant's actual growth stage, since feeding flowering-strength nutrients during veg pushes EC higher than your plant needs.
- Avoid starting seedlings in "hot" soil mixes loaded with fresh compost or manure, since young roots handle excess salts poorly.
- Use a TDS or EC meter to track your reservoir or runoff over time, so you catch a rising trend before it turns into burn.
Nutrient Burn and Recovery During Flowering
Nutrient burn hits harder during flowering because the plant is less likely to replace damaged leaves as it focuses on bud production. Any burn that develops late in flower tends to remain visible through harvest.
Treating Nutrient Burn During Flower
If you spot nutrient burn, correct the EC rather than continuing to feed at the same strength. In soil or coco, use enough water to lower the EC without completely rinsing the medium. In hydro, dilute the reservoir rather than fully resetting it, since a drastic change can stress the plant.
Feed at a lower strength afterward and monitor EC more closely as flowering progresses. If burn appears within the last few weeks before harvest, avoid adding more nutrients and use plain, pH-balanced water instead. New growth should look healthy within 3–5 days once the root-zone EC is corrected, although damaged leaves won't recover.
Preventing Nutrient Burn Before Harvest
Nutrient burn is easier to prevent than to correct, especially once flowering is underway. Monitor EC regularly, adjust feeding strength as the plant's needs change, and watch new growth for signs of excess nutrients. If burn does occur, correcting the root-zone EC early gives the plant the best chance of continuing healthy growth through harvest.
Remember that damaged leaves won't recover, so focus on the health of new growth rather than trying to reverse existing damage. Keep feeding conservative, monitor your plant closely, and use trichome development rather than the calendar to determine when it's ready for harvest.