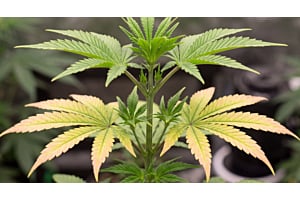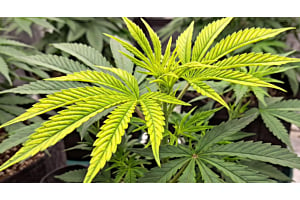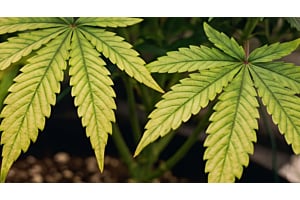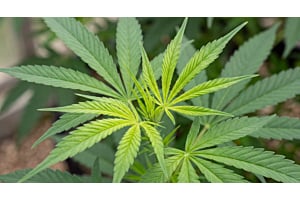
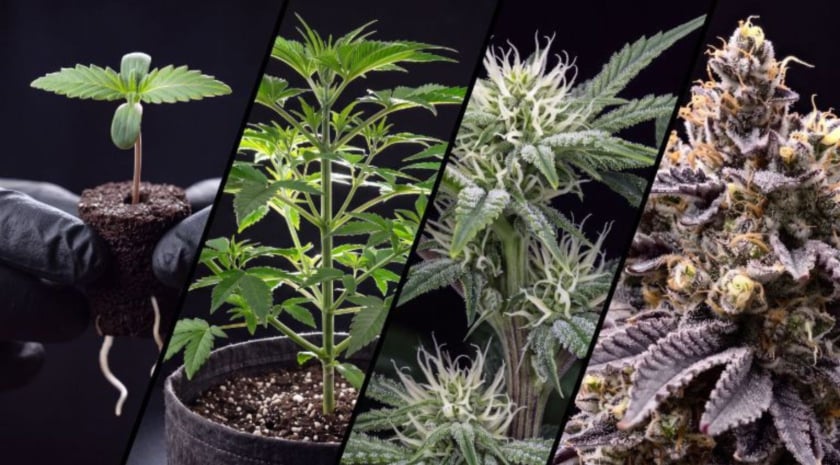
Cannabis growth follows a predictable sequence of stages from seed activation through post-harvest curing. The main cannabis growth stages are germination, seedling, vegetative growth, pre-flower, flowering, harvest, drying and curing.
Each stage shifts what the plant needs from you in terms of light, water, nutrients, training and monitoring. Timing varies by seed type, genetics and environment, so autoflower and photoperiod plants move through the same phases at different speeds.
Read on to learn what changes, what to watch for and what to read next. If you want a single start-to-finish walkthrough instead, our guide on how to grow marijuana covers the full process.
What Are the Cannabis Growth Stages
Cannabis growth stages mark the development phases a plant moves through from seed to post-harvest curing. Each phase shifts the plant's priorities and changes what you provide as a grower.
| Cannabis Growth Stage | What Happens | Autoflower Timeline | Photoperiod Timeline |
| Germination | Seed absorbs moisture and pushes out a taproot. | 1-10 days | 1-10 days |
| Seedling | Early roots establish and the first true leaves unfold. | 2-3 weeks | 2-3 weeks |
| Vegetative | The plant builds its framework of branches, nodes and fan leaves. | 2-4 weeks | 3 weeks to several months |
| Pre-Flower | The plant reveals its sex and transitions into bud production. | 1-2 weeks (triggered by age) |
1-2 weeks (triggered by light flip) |
| Flowering | Buds develop and trichomes and resin accumulate. | 6-8 weeks | 6-12 weeks |
| Harvest | Trichome and pistil signals tell you the plant is ready to cut. | Determined by trichome development | Determined by trichome development |
| Drying and curing | Potency, terpenes and smoke quality are preserved post-cut. | 3-6 weeks | 3-6 weeks |
|
Typical Total Timeline |
~3-5 months |
~4-9 months |
Autoflowers and photoperiod plants follow the same sequence but reach each stage on different schedules. That’s why the exact timeline for each stage depends largely on cannabis seed type, along with genetics and growing conditions.
How Does the Cannabis Germination Stage Work?
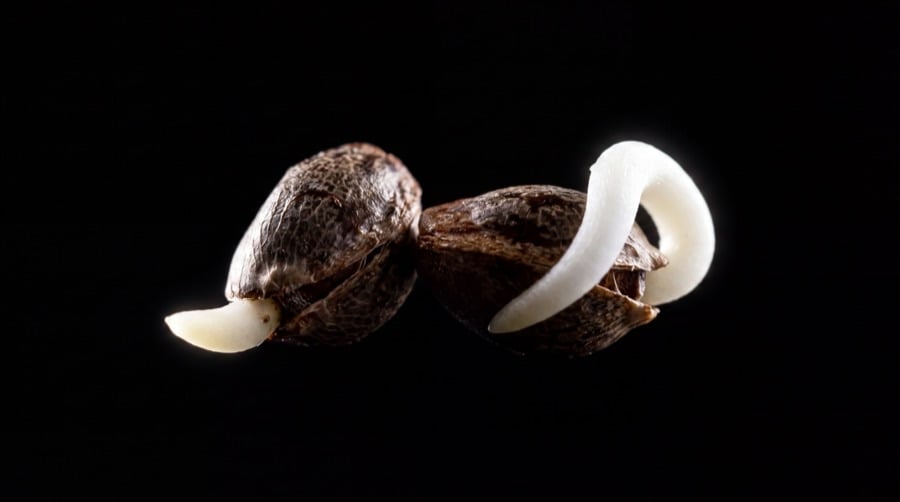
Cannabis seeds beginning to sprout as small white taproots push through the cracked shells.
Germination takes anywhere between 1-10 days and begins when a viable cannabis seed absorbs moisture and the taproot pushes through the cracked shell.
The seed needs consistent warmth of around 70-80°F (21-26°C), light moisture and gentle handling. Darkness helps during this stage because the seed responds to moisture and temperature signals, not light.
Seed viability matters before germination starts. Old, damaged or improperly stored seeds may fail to sprout, so knowing how to store cannabis seeds preserves germination potential. Seeds stored in cool, dark and dry conditions hold viability longer than seeds exposed to heat, humidity or light.
The most common germination mistakes are drowning the seed in standing water, letting the medium dry out and handling the fragile taproot with bare fingers. Once the taproot reaches roughly half an inch (1-1.5 cm), transfer the sprouted seed into your growing medium with the taproot facing down.
For a full walkthrough of methods and timing, our guide on how to germinate cannabis seeds covers the different germination methods in detail.
What Happens During the Cannabis Seedling Stage?
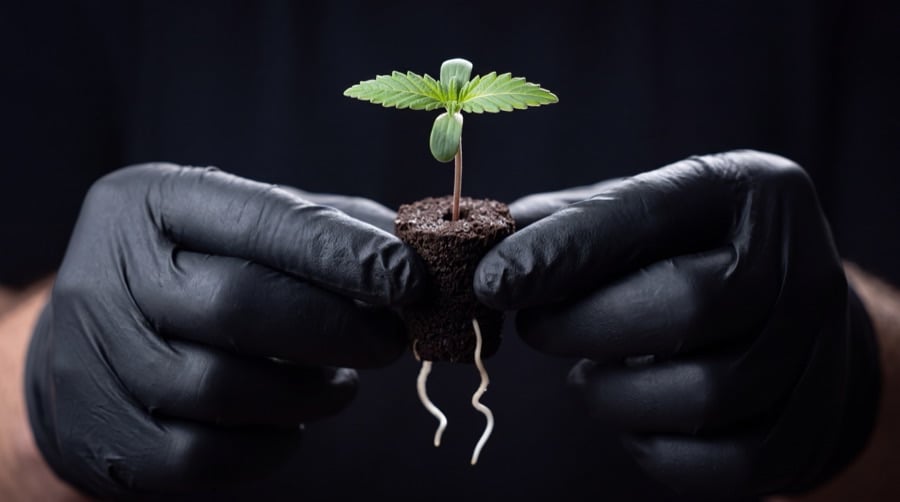
A young cannabis seedling showing its first serrated leaves and two visible roots.
The cannabis seedling stage starts when cotyledons emerge above the soil and the first true serrated leaves unfold. Cotyledons are the small, round starter leaves that fuel early growth until true leaves take over photosynthesis. This phase typically lasts 2-3 weeks.
Seedlings need gentle light. Too much intensity can stress young plants, while too little causes stretching as the seedling reaches upward.
Watering cannabis plants at this stage calls for restraint. Water lightly and let the top layer of the medium dry slightly between waterings. Overwatering is the most common seedling-stage mistake because young roots in saturated soil develop poorly and become vulnerable to rot.
Root establishment is the priority during this window. Avoid heavy feeding because seedlings draw nutrients from the seed itself and the medium. Watch for yellowing leaves, drooping and excessive stem stretch, which are early signs of environmental stress.
If any of these cannabis plant problems appear, act fast to diagnose and correct common seedling issues. Once the plant produces 3-4 sets of true leaves and the root system stabilizes, it transitions into vegetative growth.
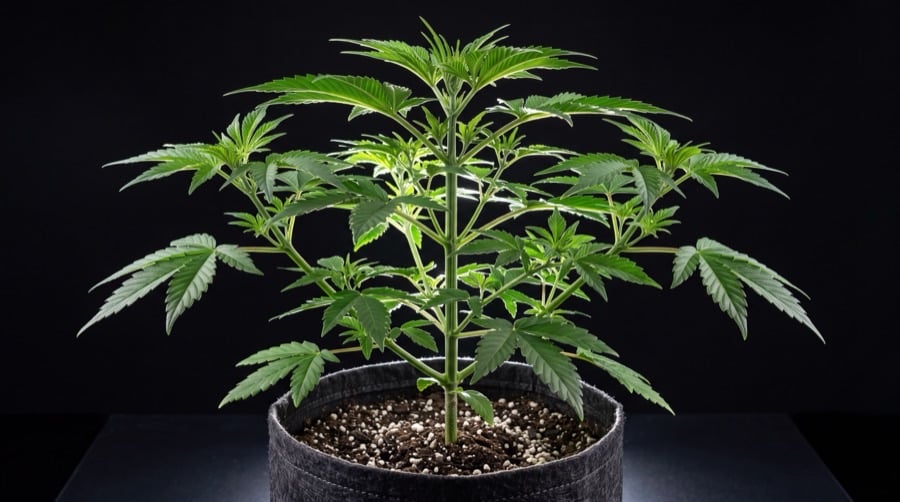
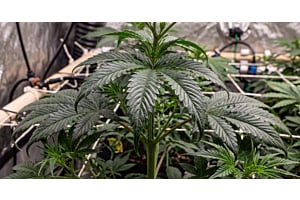
Cannabis plant thriving in the vegetative stage, building strong stems and lush green leaves.
The cannabis vegetative stage drives root expansion, branch development and leaf growth that builds the structural framework for flowering. This is the longest and most variable phase, lasting anywhere from 3 weeks (autoflowers) to several months (photoperiod plants with extended veg cycles). Node spacing, stem thickness and canopy width all develop here
Strong light is critical during veg. Cannabis plants in this phase need 18 or more hours of light per day (indoors) or long summer days (outdoors) to fuel structural growth.
Nitrogen demand peaks because the plant is building green tissue rapidly. Matching cannabis nutrition and feeding to each stage prevents both deficiencies and toxicity.
The vegetative stage also opens the training window. Cannabis plant training techniques like topping, low-stress training (LST) and super cropping all reshape the canopy during veg to create more even bud sites later. Once flowering starts, the plant's structure is largely set, so training decisions happen now.
Watering increases during veg as the root system expands and the plant's daily transpiration rises. Monitor for pests, nutrient deficiencies and early signs of environmental stress throughout this stage. Catching cannabis plant problems early prevents compounding damage in later stages.
The transition to flowering begins when the light cycle shifts (photoperiod) or the plant's internal clock triggers (autoflower).
What is the Cannabis Pre-Flower Stage?
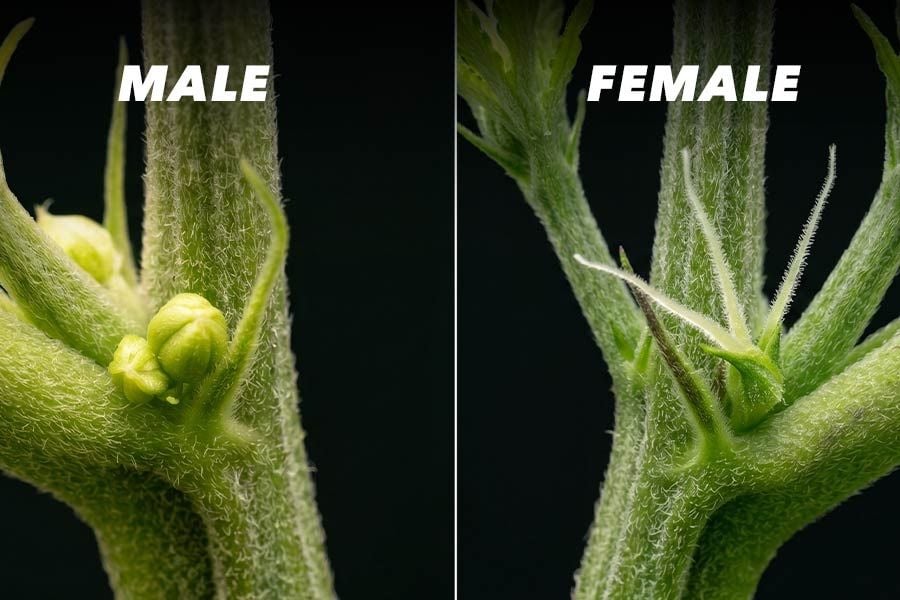
Male and female cannabis plants begin showing their differences during the pre-flower stage.
The cannabis pre-flower stage reveals the plant's sex and marks the transition from vegetative growth into flowering. This phase typically appears 1-2 weeks before full flower development begins. Growers monitor their weed crops closely during pre-flower because identifying plant sex determines the next step.
Male vs female cannabis plants differ in appearance. Female plants show pistils: small, white hair-like structures emerging from nodes. Male plants show pollen sacs: small, round clusters that hang from nodes. Remove males before pollen sacs open to prevent pollination, which would redirect a female’s energy from bud production to seed production.
The flowering stretch begins during pre-flower. Plants may grow 50-100% taller in the first 2 weeks of transition. Marijuana plants grown from photoperiod seeds enter pre-flower when the light cycle drops to 12 hours of light and 12 hours of darkness. Autoflower plants enter pre-flower by age, typically around weeks 3-5 from seed, regardless of light schedule.
What Happens During the Cannabis Flowering Stages?
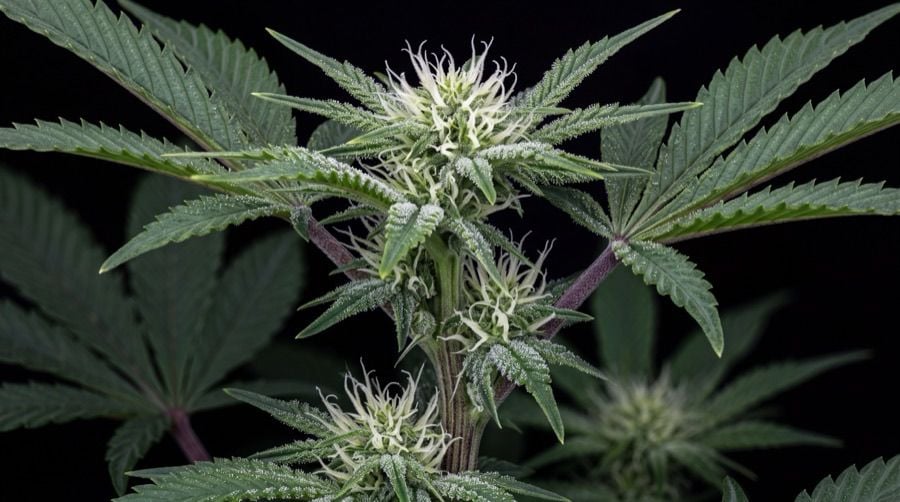
Cannabis plant thriving in the flowering stage.
Cannabis flowering shifts the plant's energy from structural growth into bud development, trichome production and resin accumulation. This stage lasts roughly 6-12 weeks depending on genetics and seed type.
During early flowering, the stretch continues and bud sites form at branch nodes. Pistils multiply and white hairs cluster where buds develop. Mid-flowering brings visible bud fattening, increased resin production and the first visible trichomes on sugar leaves.
Nutrient needs shift during flowering. The weed plant demands more phosphorus and potassium and less nitrogen compared to veg. Matching cannabis nutrition and feeding to flowering requirements supports bud density and trichome development.
Humidity control becomes critical in late flowering. Dense buds trap moisture and create conditions for mold and bud rot, especially in humid climates or poorly ventilated grow spaces. Monitor for cannabis pests and diseases throughout flowering. Support heavy branches with stakes or trellising as buds gain weight.
Late flowering also brings the first harvest-readiness indicators: pistils darkening from white to amber and trichomes shifting from clear to cloudy.
When Should You Harvest Cannabis?
Cannabis harvest timing depends on trichome color, pistil changes and strain-specific maturity signals. Harvesting too early reduces potency, weight and flavor complexity. Harvesting too late can degrade THC and shift the effect profile.
Pistils offer the first visual cue. When roughly 70-80% of pistils have darkened from white to amber or brown, the plant approaches peak maturity. Trichomes provide a more reliable signal under magnification.
Clear trichomes indicate the plant is still developing. Cloudy trichomes suggest peak THC levels. Amber trichomes signal THC degradation and some growers associate a higher proportion of amber trichomes with more relaxing effects, though this varies by variety.
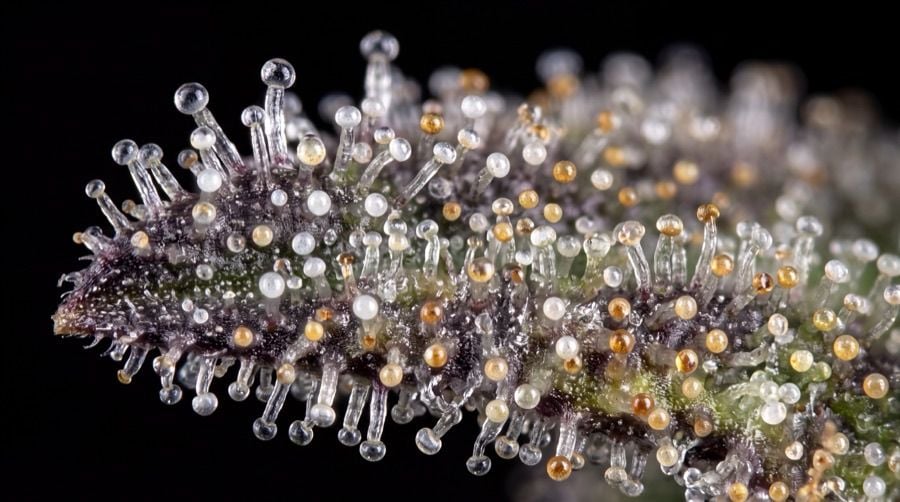
Cannabis trichome progression from clear to cloudy to amber, indicating harvest readiness stages.
Different strains mature at different speeds, so genetics influence the harvest window. Indica-dominant plants often finish faster than sativa-dominant varieties. Autoflower strains reach harvest readiness earlier in the overall timeline.
Trichomes also carry the cannabinoids and terpenes that shape flavor, aroma and effect. Understanding cannabis compounds helps you choose the harvest window that matches your preference for potency and effect direction.
For more in-depth information, our guide on when to harvest cannabis covers trichome reading and pistil assessment in detail.
How Do You Dry and Cure Cannabis After Harvest?
When done properly, drying and curing preserve cannabinoid potency, terpene complexity and smoke smoothness after the plant is cut. Growth ends at harvest, but final quality depends on what happens next.
Start by choosing your trimming method. Wet trimming (right after harvest) or dry trimming (after drying) both work well — it’s a preference that varies by grower.
Next, hang trimmed branches or place buds on drying racks in a dark room with temperatures around 60-65°F (15-18°C) and humidity near 55-65%. Good airflow prevents mold, but direct fan contact can dry buds too fast.
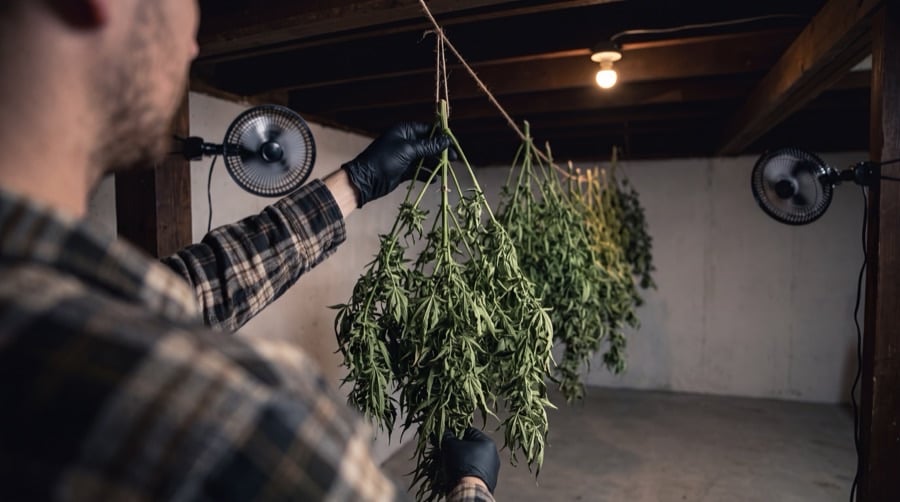
Freshly harvested cannabis branches hanging to dry before the curing process.
Drying typically takes 7-14 days. Buds are ready to cure when small stems snap cleanly instead of bending. Transfer dried buds into airtight glass jars for curing.
Burp the jars daily for the first 1-2 weeks by opening them briefly to release moisture and refresh air. This process develops smoother flavor, reduces harshness and enhances aroma.
Mold prevention continues through curing. If humidity inside the jars rises above 65%, remove buds and air-dry further before resealing. After 2-4 weeks of curing, buds reach a baseline quality level, though longer curing (up to two months) can refine flavor further.
Store cured buds in a cool, dark place to maintain quality over time.
For the full step-by-step process, our guide on drying and curing cannabis covers each step in detail.
How Do Autoflower and Photoperiod Growth Timelines Differ?
Autoflower and photoperiod cannabis plants follow different growth timelines because autoflowers flower by age while photoperiod plants flower by light-cycle change. This core difference shapes planning, training and harvest scheduling.
Autoflower plants typically move from seed to harvest in 8-12 weeks, though some slower varieties stretch that to around 14 weeks. Their internal genetics trigger flowering automatically around weeks 3-5 of growth, regardless of how many hours of light they receive. This shorter cycle suits growers with limited time, short outdoor seasons or fast turnaround goals.
Photoperiod plants remain in vegetative growth as long as they receive 18+ hours of light. Flowering starts only when the light cycle drops to 12/12 (indoors) or when natural daylight shortens in late summer (outdoors).
This gives growers control over veg length, plant size and training complexity. Longer veg periods produce bigger plants with more bud sites, but extend the total grow cycle to 4-6 months or longer.
One point about marijuana seed type that confuses a lot of new growers? Autoflowering vs feminized cannabis seeds. ‘Autoflowering’ and ‘feminized’ are separate traits that can overlap. For example, an autoflower can also be feminized (most autos are usually both). That’s why feminized seeds can include both photoperiod and autoflowering options.
Understanding how those attributes work is what actually determines your training options, harvest dates and planning.
For a broader comparison of how seed type affects every stage, our guide on photoperiod vs autoflowering cannabis covers the full breakdown.
Cannabis Growth Stage Chart
The cannabis growth stage chart below summarizes each stage's main grower priorities.
| Stage | Main Grower Focus | Most Common Risks | Next Guide |
| Germination | Moisture & warmth | Drowning or drying the seed | Germination Guide |
| Seedling | Gentle light & light watering | Overwatering & stretching | Seedling Guide |
| Vegetative | Strong light, nitrogen, training | Nutrient deficiency & pests | Vegetative Growth Guide |
| Pre-Flower | Monitoring for male plants | Missing males before pollen release | Male vs Female Weed Plant Guide |
| Flowering | Humidity, flowering nutrients & branch support | Mold & bud rot | Flowering Stages Guide |
| Harvest | Trichome & pistil monitoring | Harvesting too early or too late | Harvesting Guide |
| Drying & Curing | Humidity, airflow & jar curing | Mold & overdrying | Drying & Curing Guide |